

You must have the admin or editor role to complete all the steps in this tutorial. Viewers can edit on a branch and leave comments and suggestions, but they can’t publish or request review. See Roles.
1
Create a branch
A branch is a temporary copy of your content. It’s where you make your changes without affecting your live site. You can merge a branch into your live site or safely discard it if you choose not to make the changes.Working on a branch keeps your edits separate from your live site until you’re ready to share the content with your users.
-
In the editor toolbar, click the branch name (usually
main, with a Live badge). If you don’t see it, show the branch selector.

-
In Find a branch, type a title that describes your change, like
Update quickstart. - Click New branch.
2
Make your changes
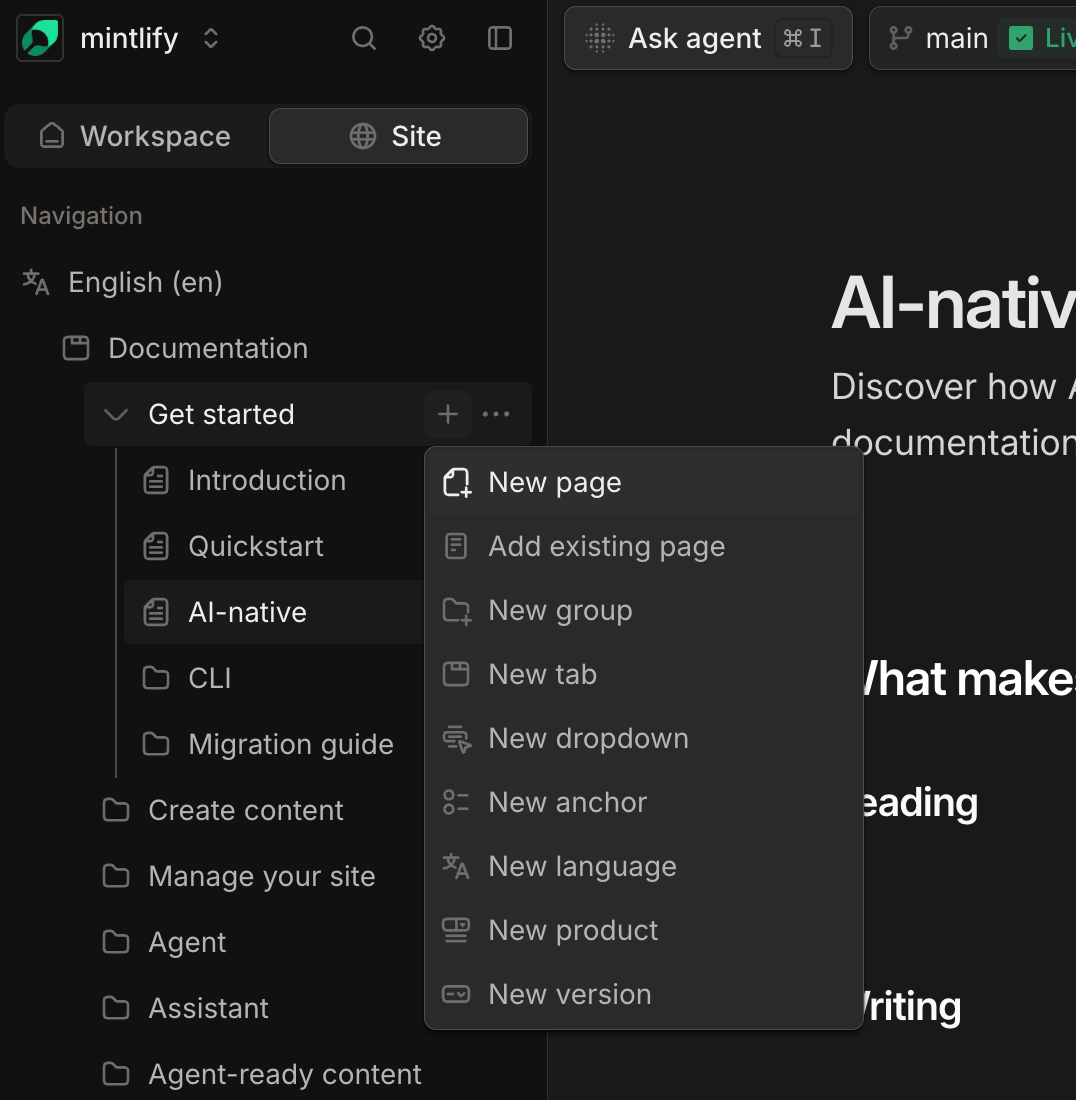
Edit an existing page or create a new one.To edit a page: Click the page name in the navigation sidebar to open it. Type directly in the editor to add content. Press / to insert components, images, or other content.To create a page: Click the plus button next to the navigation group where you want to add the page, then click New page. Type a title for the page. The editor names the file after the title.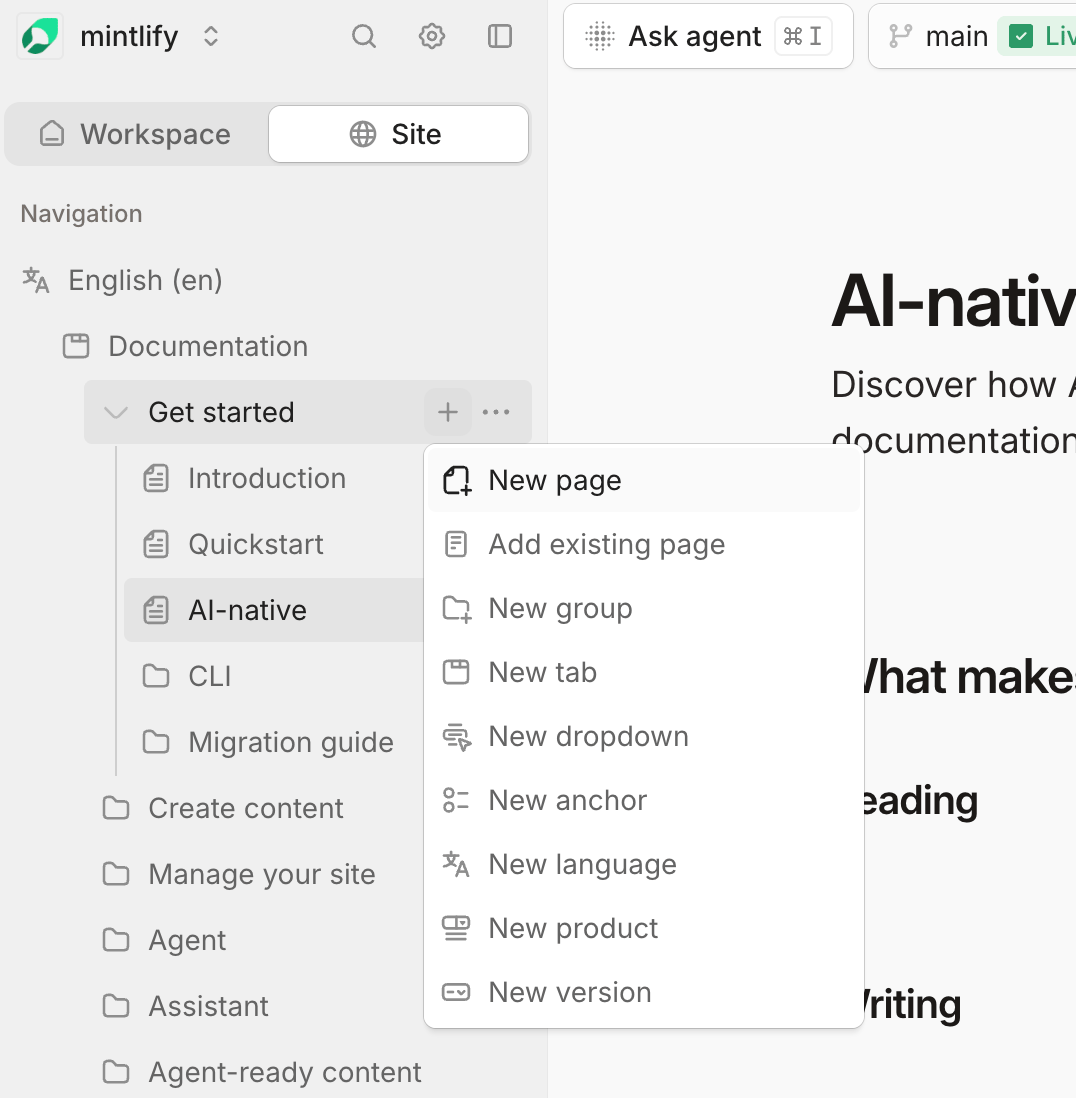
3
Publish your branch
When you first edit a branch, the editor opens a pull request for it. A pull request is a proposal to merge your changes into the branch that builds your live site. Your changes only go live after the pull request merges.When you’re ready for review, request it from the publish menu.
- Click Publish in the toolbar to open the publish menu.
- Optionally, click any changed file in the list to view and compare your edits against the published version.
- Click Request review.
4
Get your pull request approved
Share the pull request with your team. To open it, click View request in the publish menu. Reviewers can open the pull request in GitHub, GitLab, or Bitbucket to leave comments, request changes, or approve it.If a reviewer requests changes, make the edits in the editor on the same branch. Your updates commit to the existing pull request automatically. You don’t need to create a new one.When all required reviewers have approved, the pull request is ready to merge.
5
Merge and publish
With the pull request approved, click Publish in the toolbar to reopen the publish menu. The menu now shows the pull request status and an option to merge.Click Merge and publish. If Mintlify hosts your repository and approvals aren’t required, the button says Publish instead. The editor merges the pull request and switches you back to your deployment branch. Mintlify builds and deploys your changes. Your live site updates in about 30 seconds to a few minutes.